


Guide to Choosing the Best Rough-Terrain Forklift for Your Site Conditions
29th May 2026
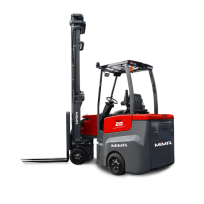
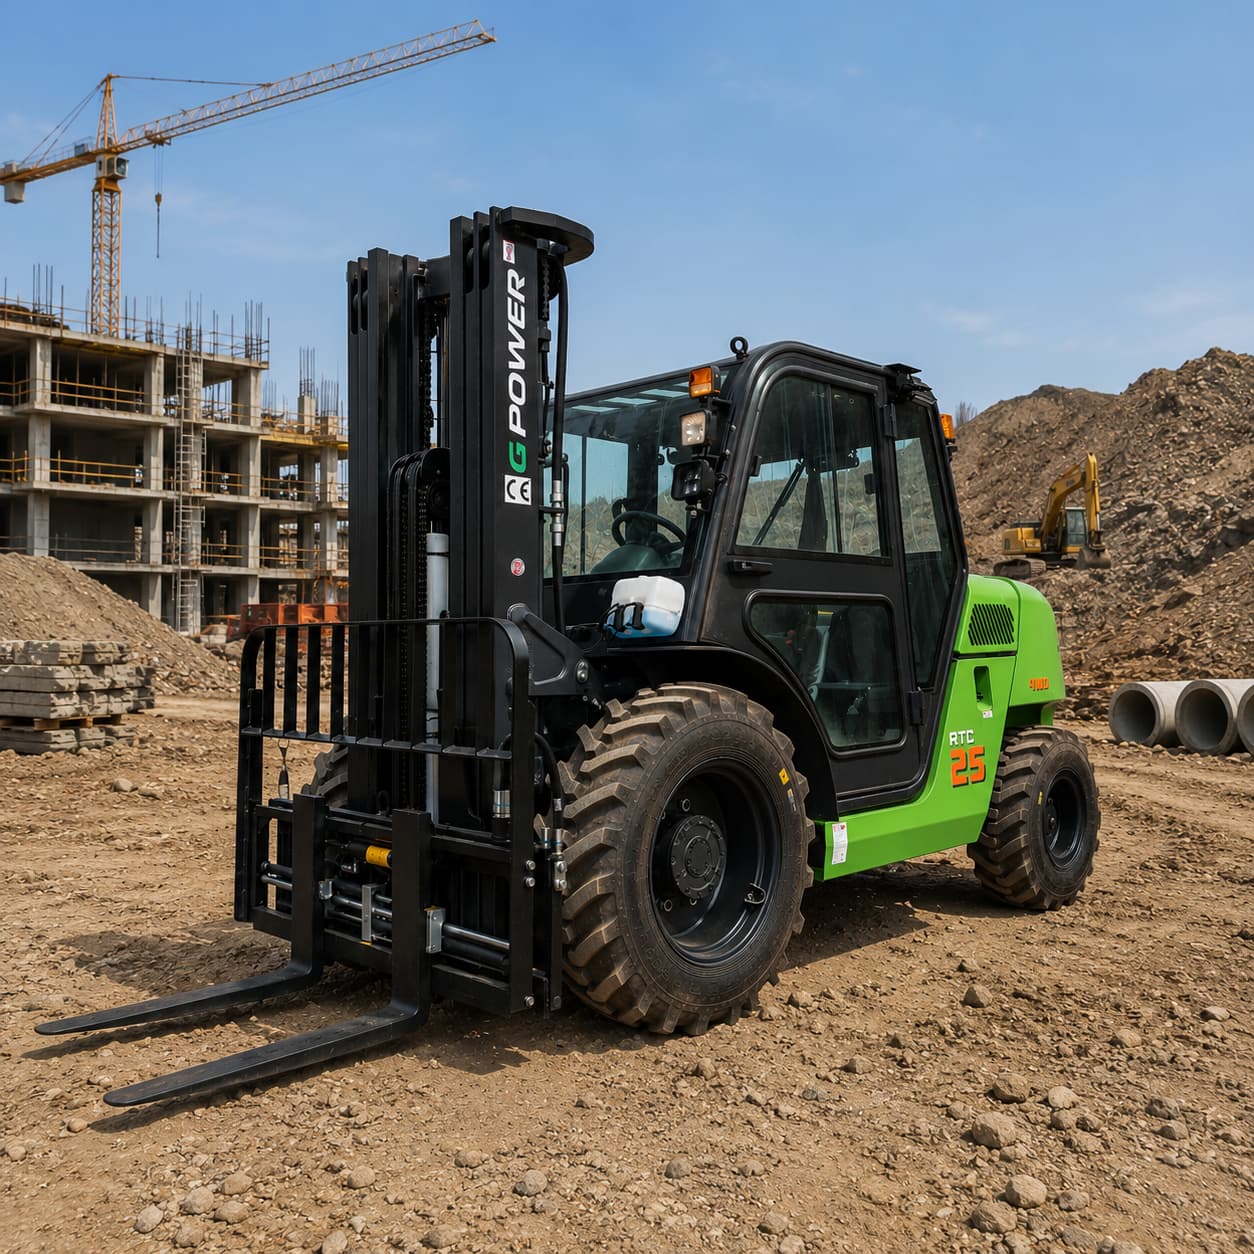
Rough-terrain forklifts are a specialised type of truck designed to handle unpredictable ground. With a high undercarriage, superior traction and unmatched stability, they are ideal solutions. Various models offer different levels of power, height, and reach. So which will best...